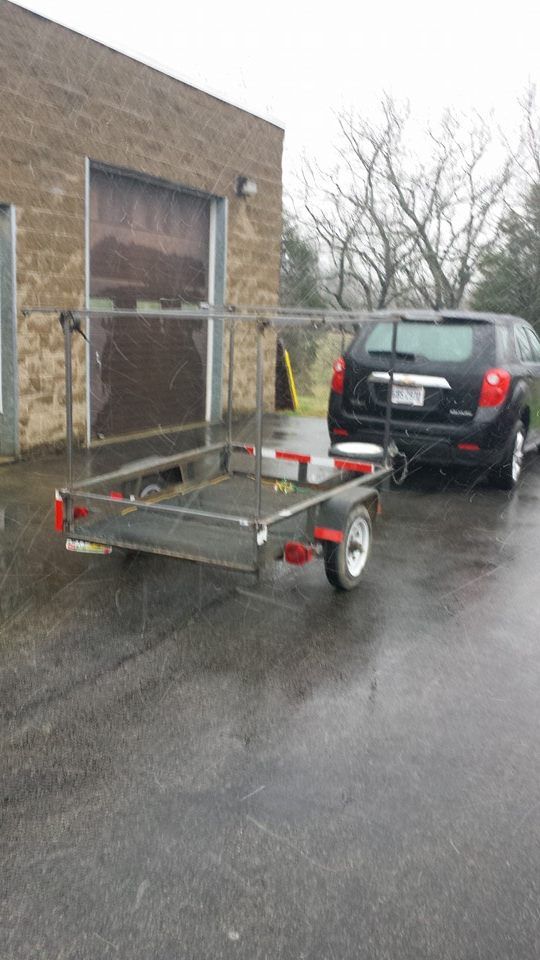
Saturday I had the day off and the weather was just too bad for even me to hit the water. For some time now I have had issues with carrying more than three kayaks or more than three people at once, and on multiple occasions I have had to tell a fourth person that I didn't have room for them. Last fall I purchased a Chevy Equinox, which gave me the extra room needed for that fourth person and their gear. However, with my current trailer I still had an issue getting the fourth kayak on board. Here's a shot of what my trailer looked like a month and a half ago.
Now I debated getting an expensive roof rack system from Yakima to give me the room needed to haul an extra yak or two, but I really didn't like the idea banging kayaks around on the roof of my new car. In addition I wasn't sure I could lift a kayak over my head and put it on the rack by myself even if I wanted to.
I spent a couple weeks thinking about how I would layout a kayak trailer in order to maximize space. If I were to modify the trailer I wanted it to do 2 things, (1) have the ability to haul a minimum of 4 kayaks and (2) store gear. The second "desire" only became a real concern this winter, when we started using chest waders. My car began to develop a smell and I'm not talking about that new car smell....the catfish slime, chicken liver, mildew, and river water smell. I needed to find some way to get the waders out of my car and fast. Not to mention that our shoes/boots were bringing a lot of mud into the car. One idea that came to mind was to use the trailer as a way to store gear via truck tool boxes, plastic totes, welded storage areas, etc.
I debated for nearly a month.......Saturday I woke up to find it pouring rain, fishing was out of the question. I had nothing to do, so I made something for me to do! I went to Lowes, Tractor Supply Co, and a local welding shop to get the supplies I needed for the trailer. I picked up four 4' sections of 1" tubing, six sections of 6' long 1" tubing, an 8 foot section of 2"x 3" tube (extending the tongue), some welding rods, a 4' section of 1" angle iron (tie downs), and various other items. I hooked up the trailer and drove it over to the shop at work. Amanda and her dad met me there and we began to disassemble the trailer. We removed all of the old padding, zip ties, 2x4s, etc. Once we had removed everything we began grinding the metal surfaces in order to prepare it for the welds. We started with the corner posts, welding each four foot section of one inch tubing into place.
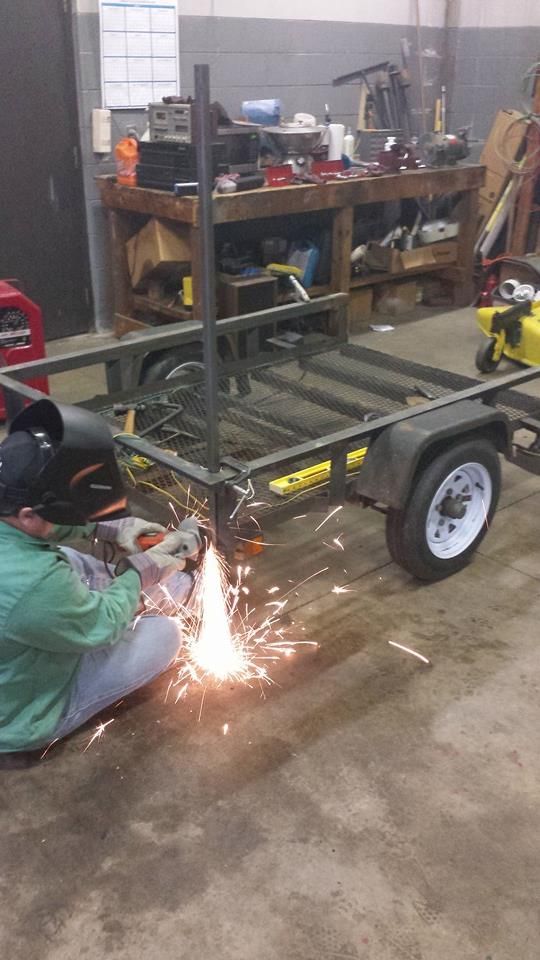
Once we got the four corner posts into place we took some measurements to ensure that the posts where equal heights and level. We then took the six foot sections of tubing and ran them across the corners of the trailer, creating the rack system that would be used to carry the kayaks. After the rack system was in place we ran tubing from corner to corner (front to back) in order to brace the rack system.....giving us a little more added strength.
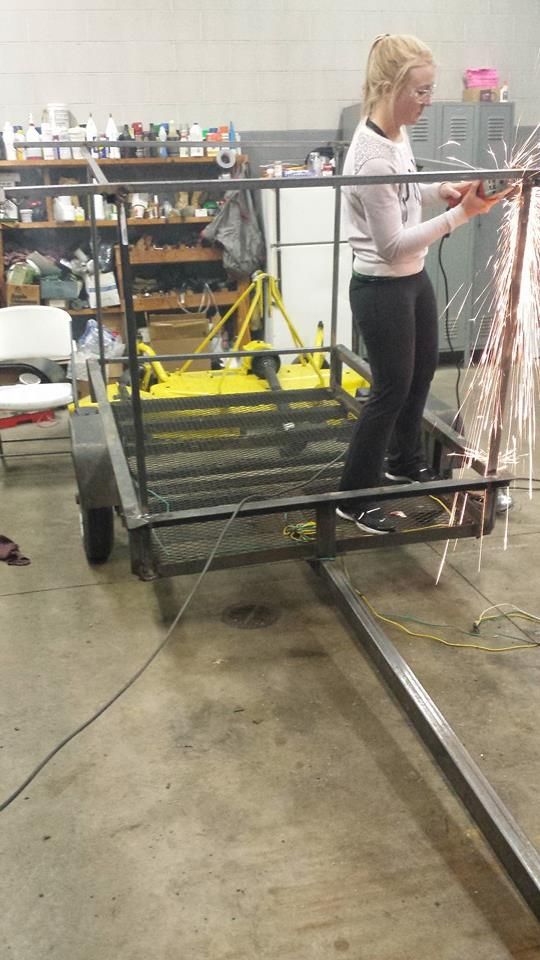
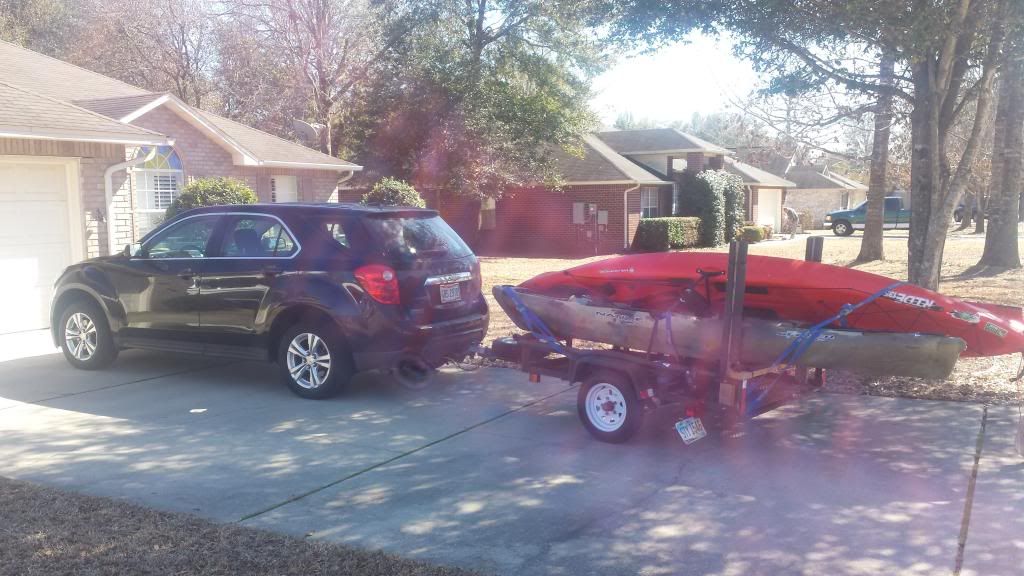
Above is what it looked like after we welded everything into place. Before this picture was taken I began cutting the angle iron into 1" pieces....which I then welded to the tubing in order to create places that we could use to strap our kayaks down to. I welded one at the end of each of the cross bars and one on each of the tubes that run the length of the trailer. You can barley see these in the picture above, but they are there. We then unbolted the old 5' trailer tongue and replaced it with the new 8' trailer tongue. If you look at the first picture of this blog you will notice that the kayaks hang over the end of the trailer 3 feet or more. By lengthening the tongue I have added tongue weight to my trailer, which will increase its handling ability. Before if you unhitched the trailer with kayaks loaded up it would have tilted all the way back until it framed out on the back end of the trailer. By lengthening the tongue I have also made the trailer safer for people following me at night, before people had a hard time seeing that the kayaks extended 3-4 feet past the lights.
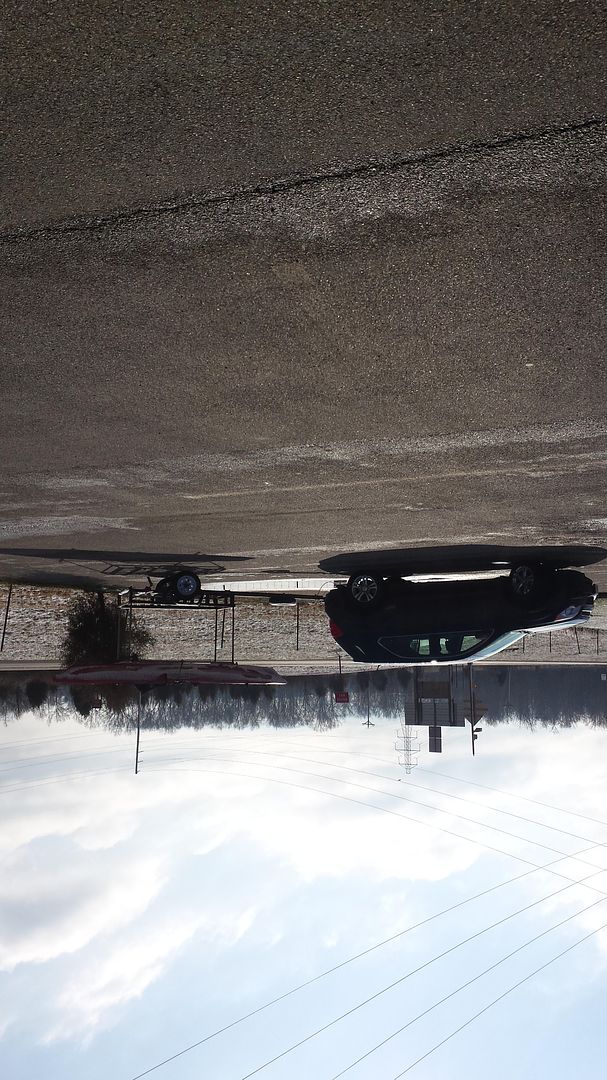
About an hour before dark we rolled the new and improved kayak trailer outside and hooked it up to the Equinox.
At this point all of the major work was completed, all that is left to do is to paint everything and add some sort of storage to the bed of the trailer. It did turn out much taller than I had expected, placing a kayak on top of the trailer is very similar to same hieght as the roof of the car.
However, if I fish alone and I don't have an extra pair of hands to help me get a kayak on top of the trailer I can simply slide my kayak onto the bed of the trailer and strap it down like I had in the past.

No comments:
Post a Comment