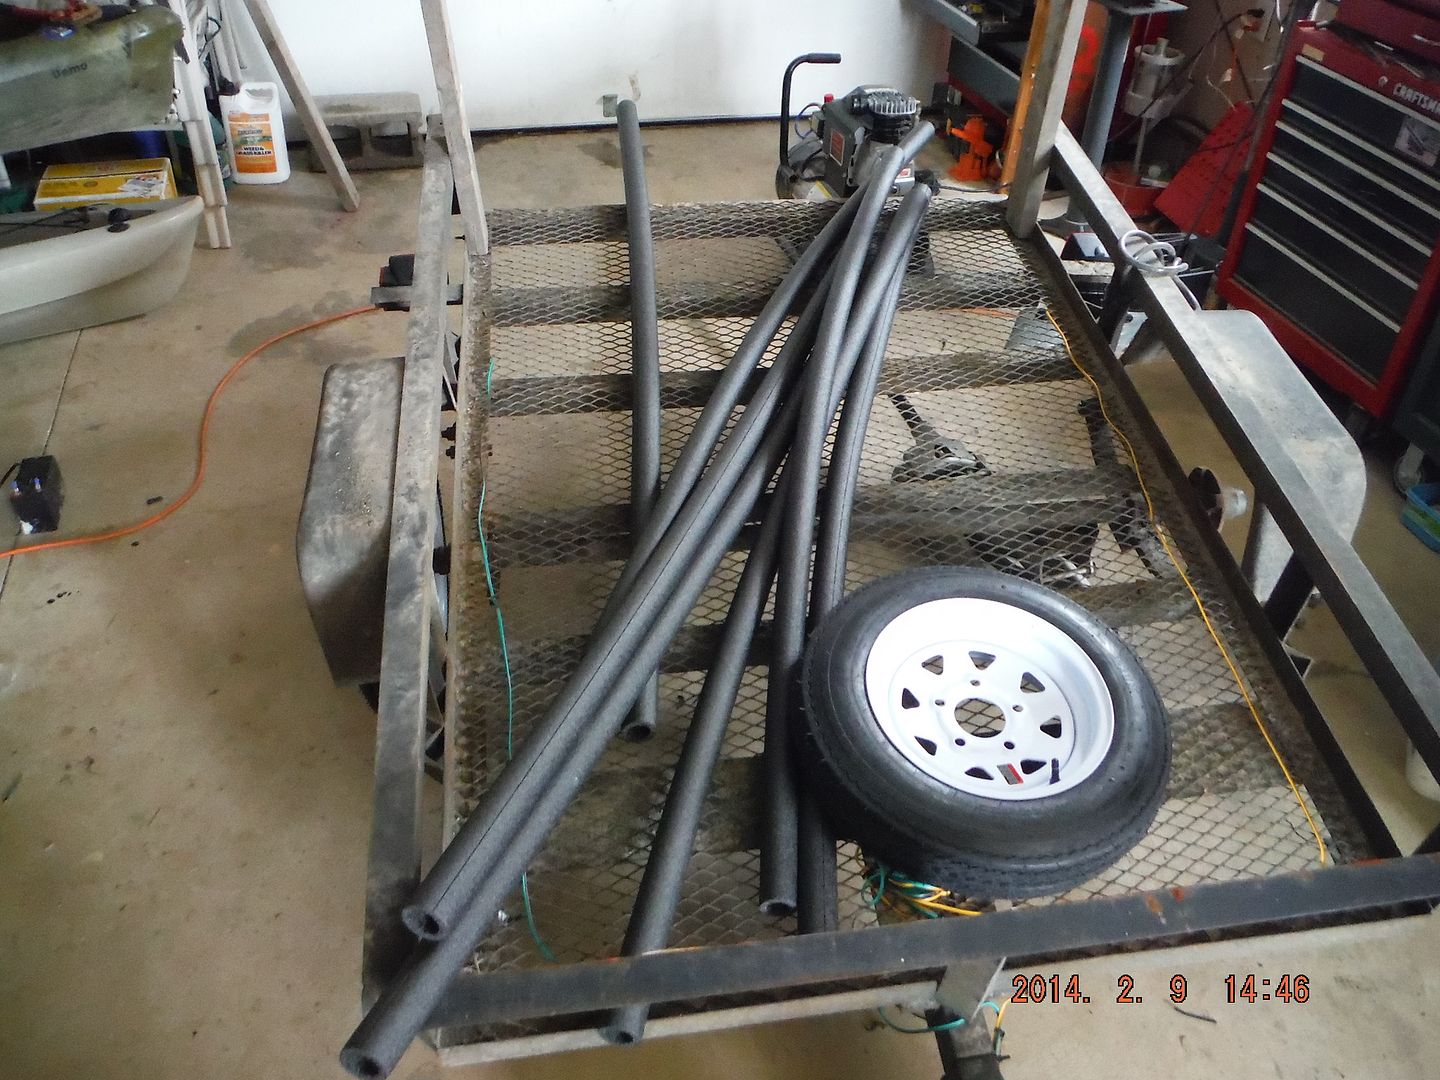
Last week I took advantage of some free time and began work on my kayak trailer.
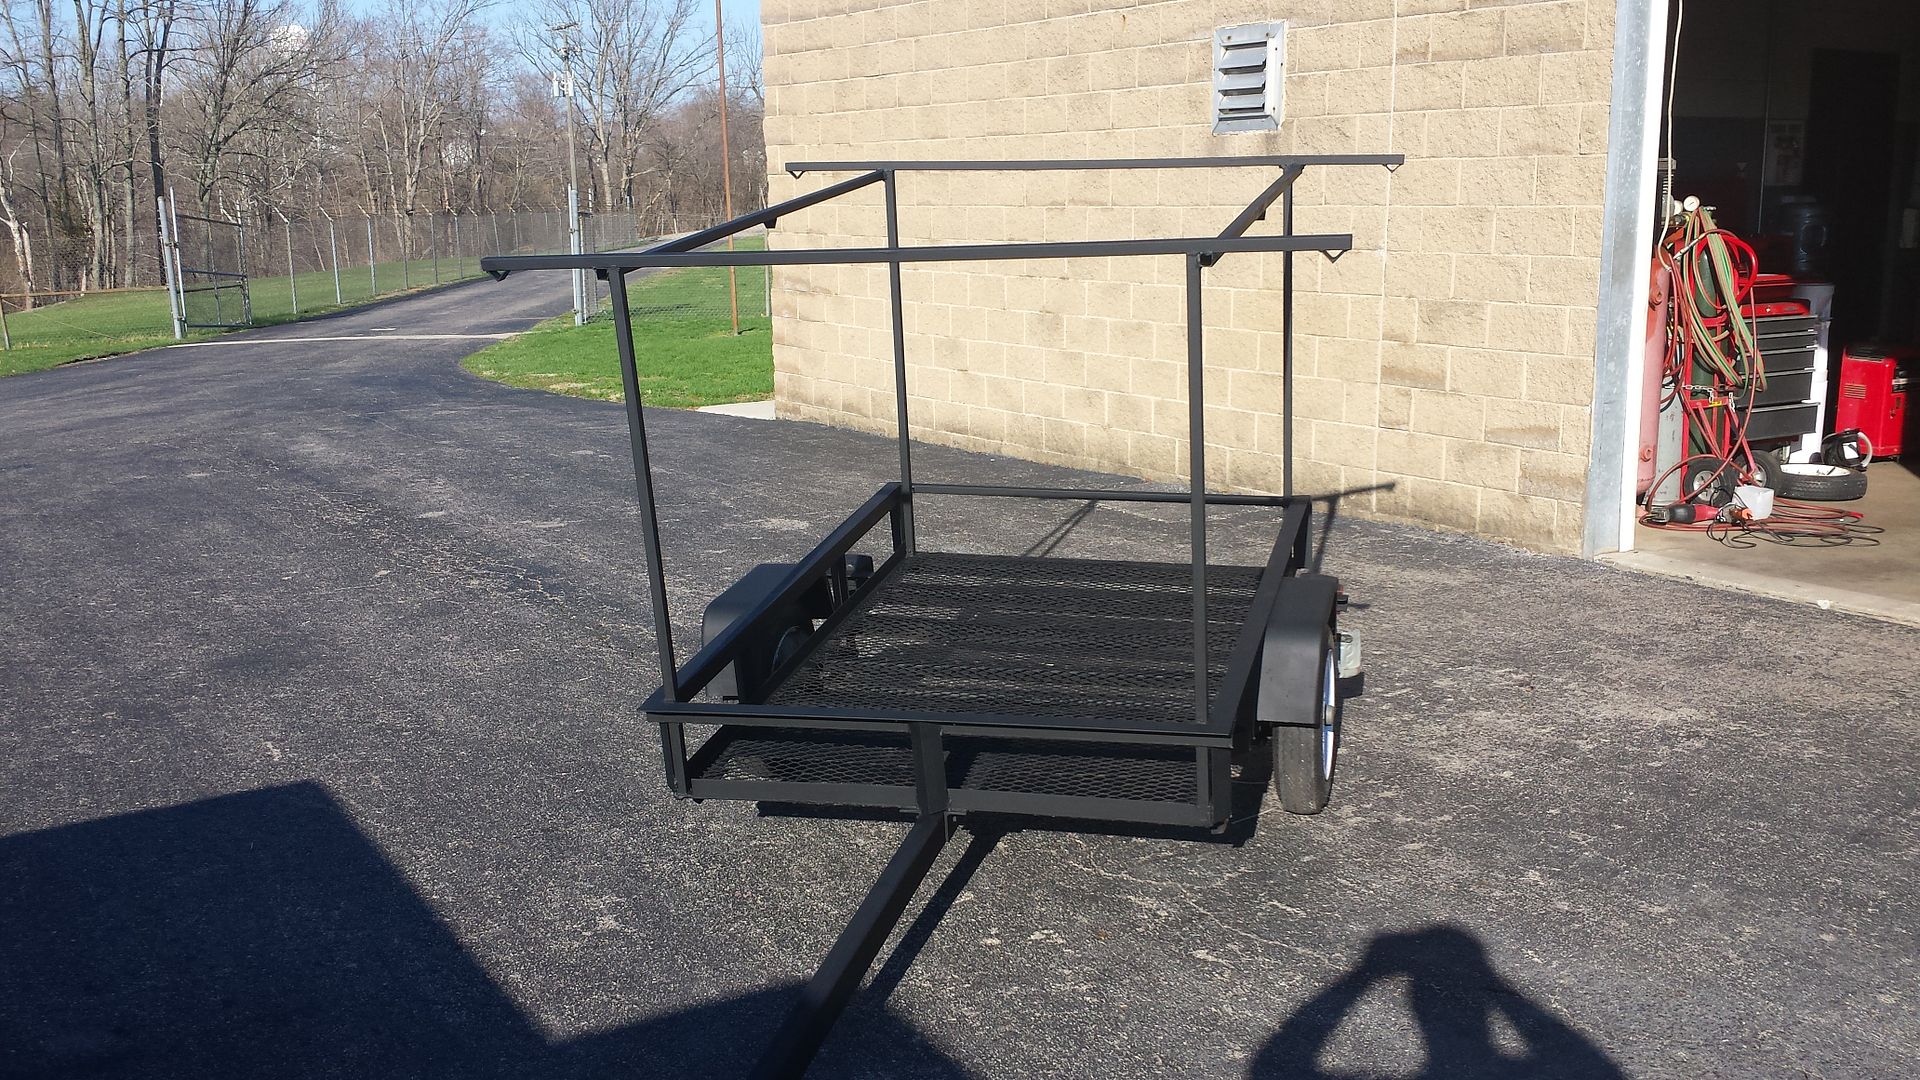
Kayak Trailer Make-Over: Day One, Welding I needed a trailer that was able to haul 4 kayaks and to store gear. I tackled the welding aspect of the project, creating a frame to support 2-3 kayaks above the trailer bed and 2-3 kayaks on the trailer bed. After 2 trips with the newly modified trailer I was sure that it was both structurally sound and capable of hauling 4 plus kayaks.
Fast forward a week......Thursday and Friday we received over 2" of rain, once again putting a serious damper on fishing Saturday morning. So instead of risking a mediocre, at best, fishing trip I decided to take the day off and work on the trailer a little more. Friday night I drove to Walmart and grabbed a few supplies.....(4) cans of black spray paint, (2) fifty gallon plastic storage containers, (2) metal wire brushes, and some reflective tape. Saturday morning I rolled out of bed around 9am, which is really sleeping in for me....yes I'm officially getting old. I grabbed the gear, hooked up the trailer, and drove over to the shop at work.

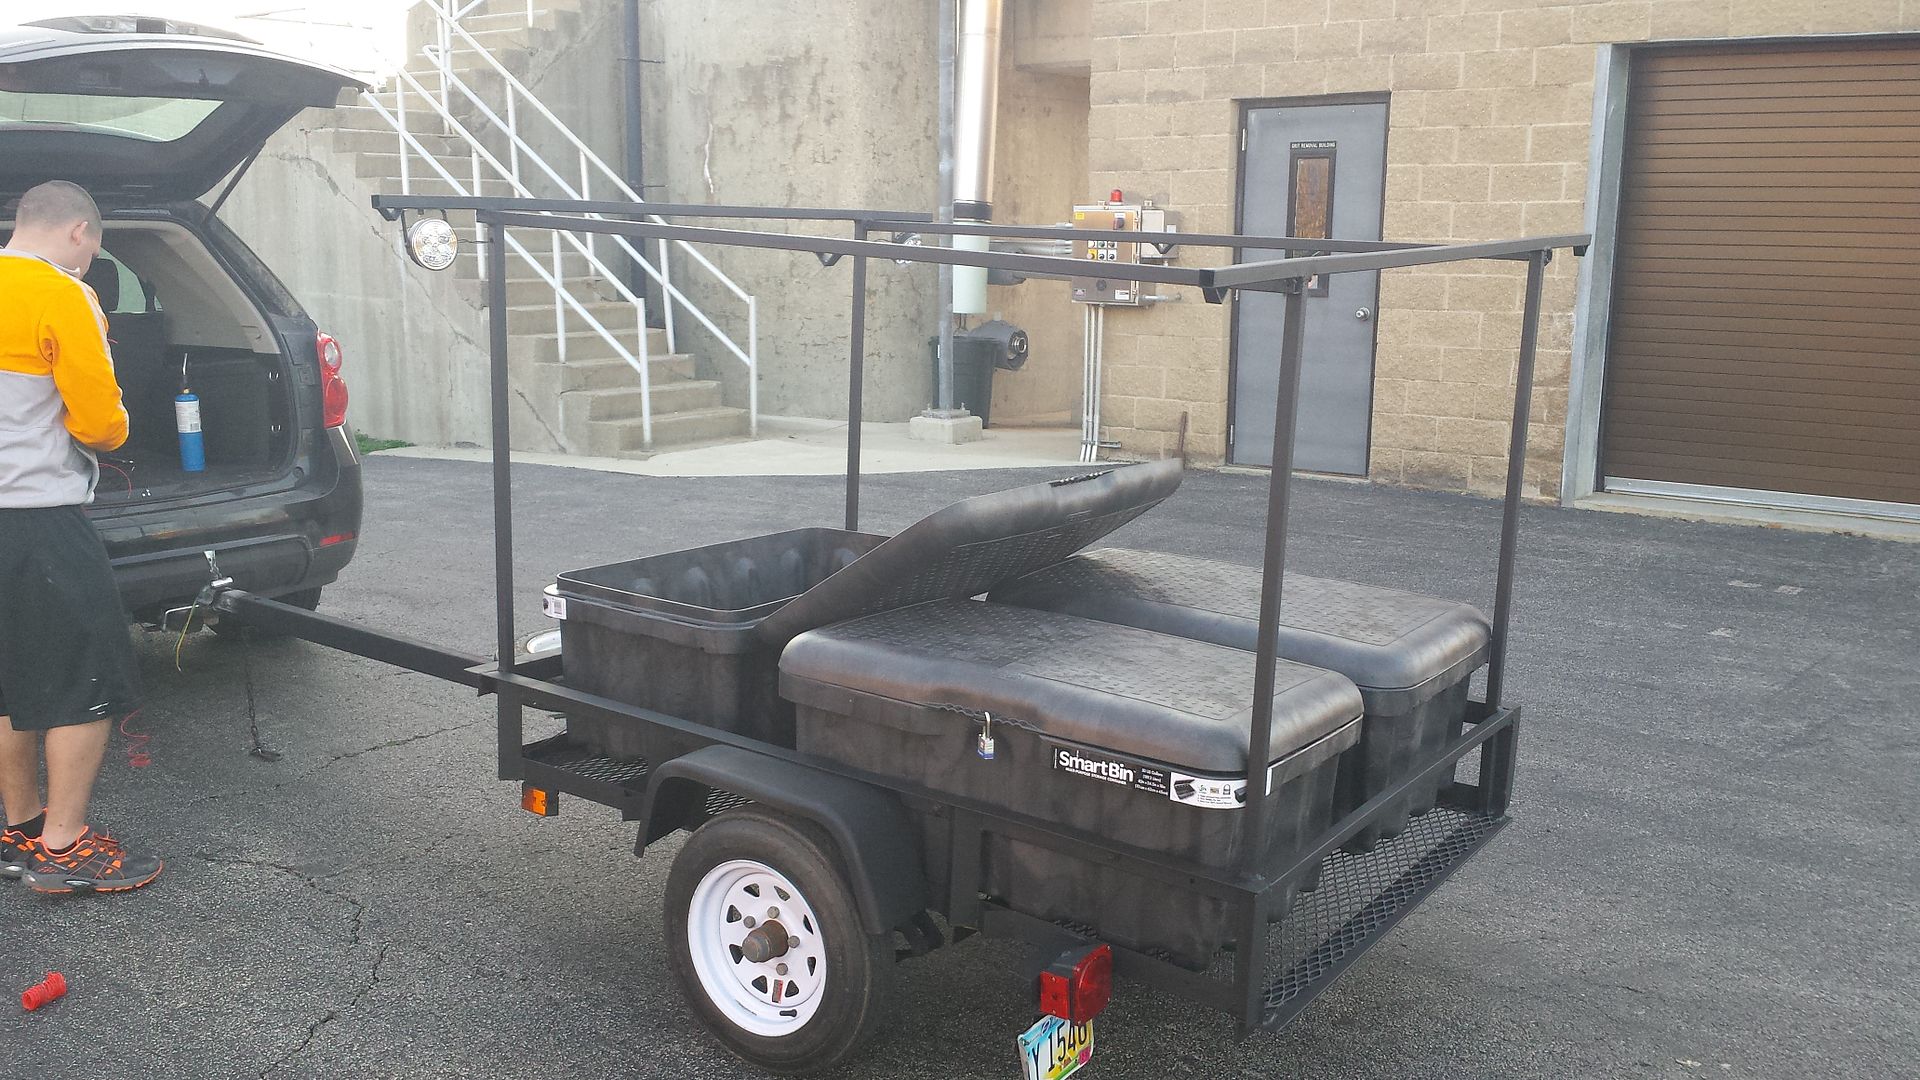
The first thing I did was to test out the storage containers on the trailer. I bought them without doing any math to calculate space, all I knew was that they were a few inches smaller than the width of the trailer. I Threw them on the trailer and began moving them around to see where the would fit best. I tried putting one up front and one in the back, leaving a little space in the middle for paddles, etc. I didn't really like any of the positions to be honest, but I eventually settled on placing the two containers near the back side by side. (see picture above) This gave me a little space on the tongue of the trailer to bungee paddles down, store bait buckets, etc. This is what I had in mind before I began working, but it wouldn't stay like this for very long. I pulled the plastic containers off and went to work with the wire brushes. After 45 minutes of forearm burning scraping I had completely removed the top layer of rust from the entire trailer.
At this point I was ready to completely strip the trailer down and primer it. I removed the trailer lights, license plate, and wiring. Soon my reinforcements began to show up, Jake had finished running for the day and Amanda had finished her daily pot of coffee and was ready to help. We decided to use a brush on polymeric primer for the trailer. Its the same primer that we use at work when we paint submersible pumps. (Pumps that are submersed in water 90 percent of the time.) The primer converts rust into a protective and paintable barrier, needless to say rust should no longer be an issue for this trailer. The three of us quickly coated the entire trailer (top and bottom) with primer. (The primer goes on blue and then turns black when its ready to be painted.)

We took a little break and allowed the trailer to dry before we started to apply the black spray paint. We started from the top and worked our way down, eventually tipping the trailer on its side to paint the bottom. At 2:30pm we ran out paint, and after quick inspection of trailer I discovered some spots that needed another coat.
We locked the plant up and made our way over to the local walmart. On the way we began discussing the progress of the trailer and what we thought we could add to the trailer. We ended up agreeing on getting a third plastic 50 gallon container for the trailer and some sort of lighting system that we could use to help us our load our equipment in the dark. We ran into walmart and grabbed 3 additional cans of black paint, one additional 50 gallon storage container, a set of large led running lights, a set of 3 locks for the 50 gallon containers, and a male end of a 12 volt cigarette lighter power adapter.
We got back to the plant around 5pm and went to work once again. Amanda and I finished off the 3 cans of spray paint and Jake went to work on wiring up the lights. An hour and a half later We had successfully coated the trailer with a fresh new coat of spray paint. We also went ahead and re-ran the trailer wires, this time around we hid the wires as best we could under the frame of the trailer and in the tubing of the tongue.
While Jake was working on the lights I went ahead and started getting the storage containers where I wanted them on the trailer. I decided to face the storage containers where the lid hinged toward the middle in order to have access to all three containers at one time. Once I had the containers into place I bolted them to the frame of the trailer. Here's the layout I came up with.

You can see above that Jake had gotten the lights installed and was working on the wiring by this point. He ran the wires down through the 1" tubing and into the first storage container. (The one that's currently open.) The lights were installed on a bolt with 2 nuts, the first of which snugged the frame of the light to the tubing just tight enough to prevent the lights from moving freely. This was a guess and check process....we wanted to the lights to move freely, but we didn't want them blowing around as we went down the road. Too tight and we couldn't move the lights, too lose and they would move as we loaded gear onto the trailer or when we bumped them. We tightened the first nut up and tried to move the light from left to right, once we felt we had the right amount of pressure needed to prevent the lights from unintentionally moving we added the second nut. The second nut was tightened down onto the first nut to prevent it from getting loose during travel. From here he attached clips to the end of the wires that ran into the plastic container. From there it would either (1) attach to a 12 volt battery stored in the container, or (2) attach to a wire that ran into the car and plugged into a cigarette lighter outlet. Once he got everything wired up we tried each method, the cigarette lighter method was a lot dimmer than the direct connection to the battery but it was definitely bright enough to help with loading and unloading our gear in the dark.
We took the trailer out Saturday and I was very surprised at the amount of gear I could store in the 150 gallons of space on the trailer. I managed to get 2 milk crates, fish finder/battery/transducer arm, 2 life jackets, rod holders, anchors, dry boxes, etc. into one crate.
 |
| Yeah thats frost.....darn spring. haha |
In another box we placed our waders, waterproof knee boots, and extra clothes. Finally the last box was reserved for a couple spare ratchet straps, bait buckets, and hawg troughs. We could have easily managed it all in the 2 storage containers, but the third will defiantly get its use on those trips where we squeeze a couple more kayaks and gear onto the trailer.
After our trip (5 hours of driving) Saturday I noticed that the metal frame was rubbing our kayaks, so I still have to add a few pool noodles to the rack. Other than that I think I have nearly completed the trailer. It sure has came a long way!


No comments:
Post a Comment